直管二尖瓣模拟日志
将直管二尖瓣模型模拟缺血性返流的研究作为第二篇文章。
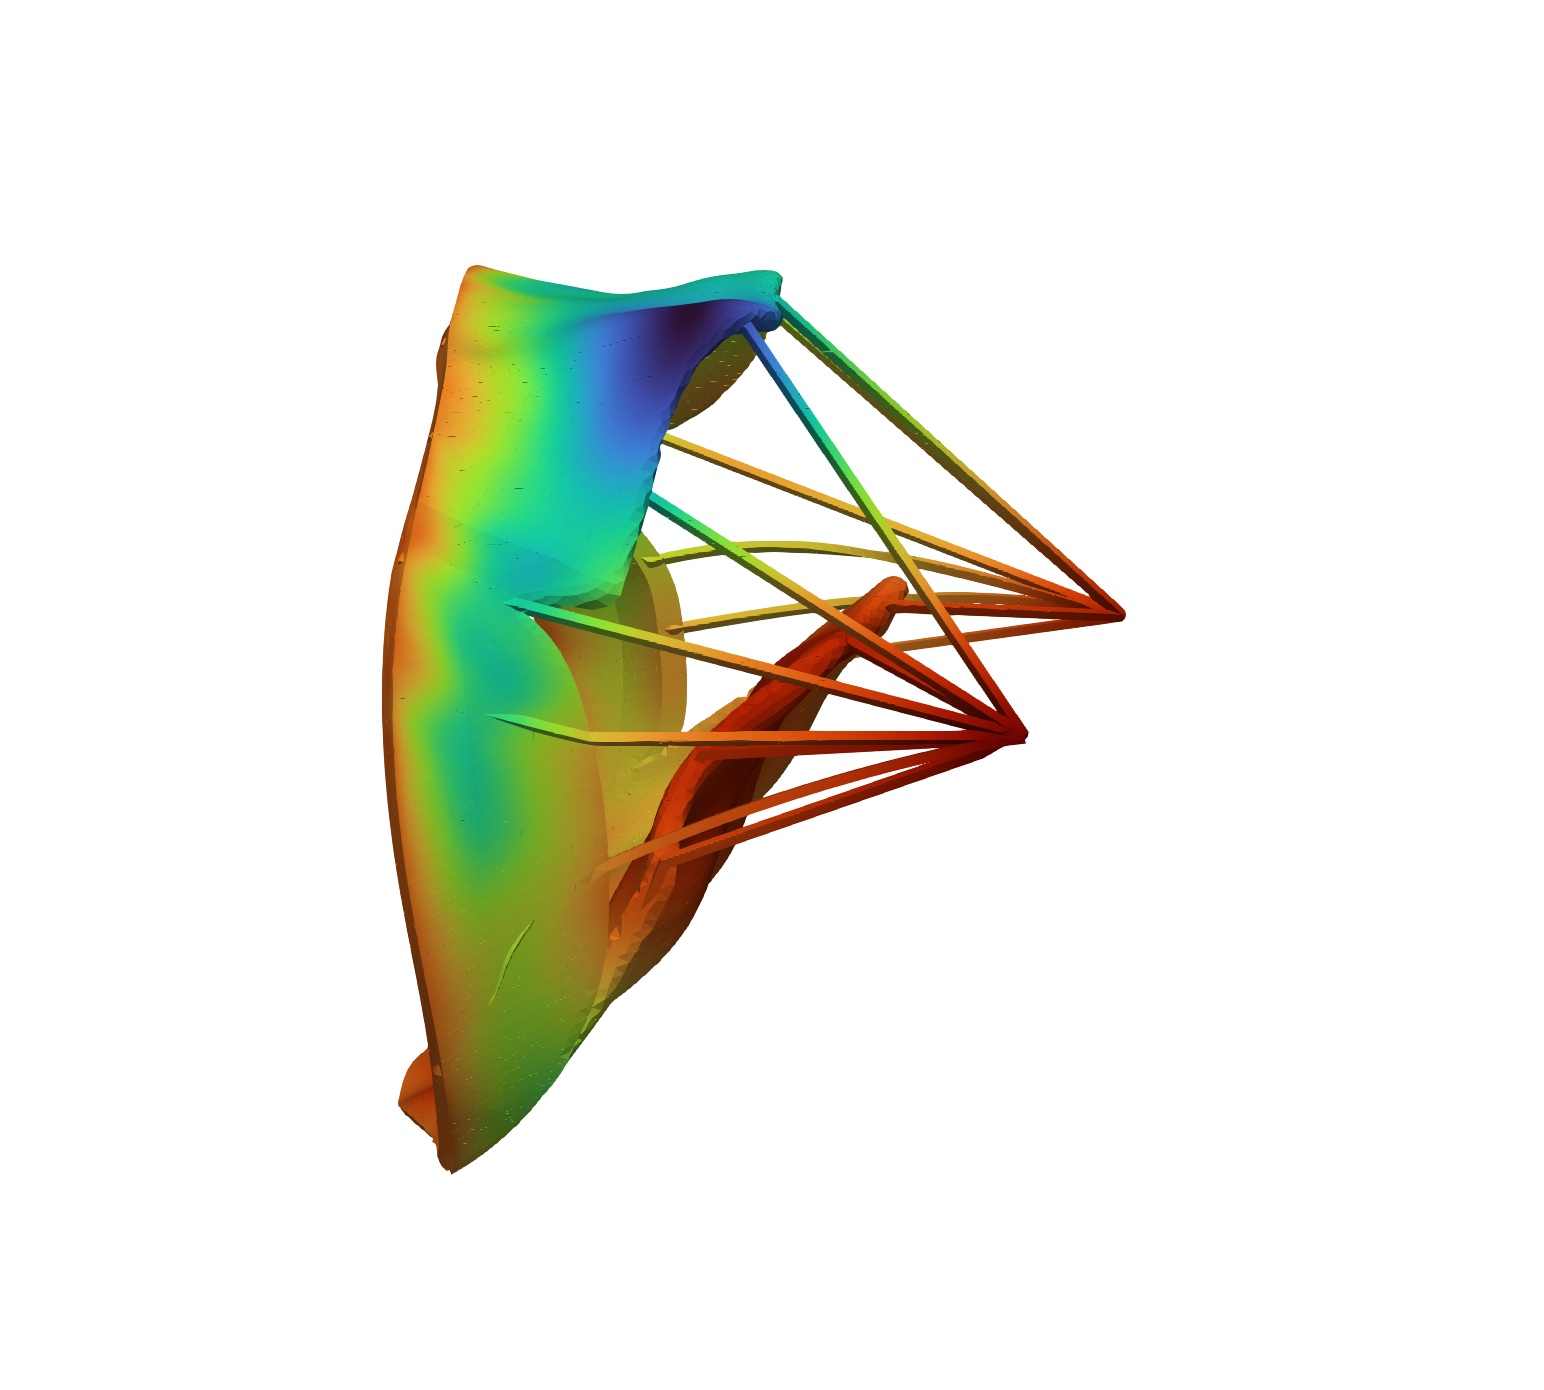
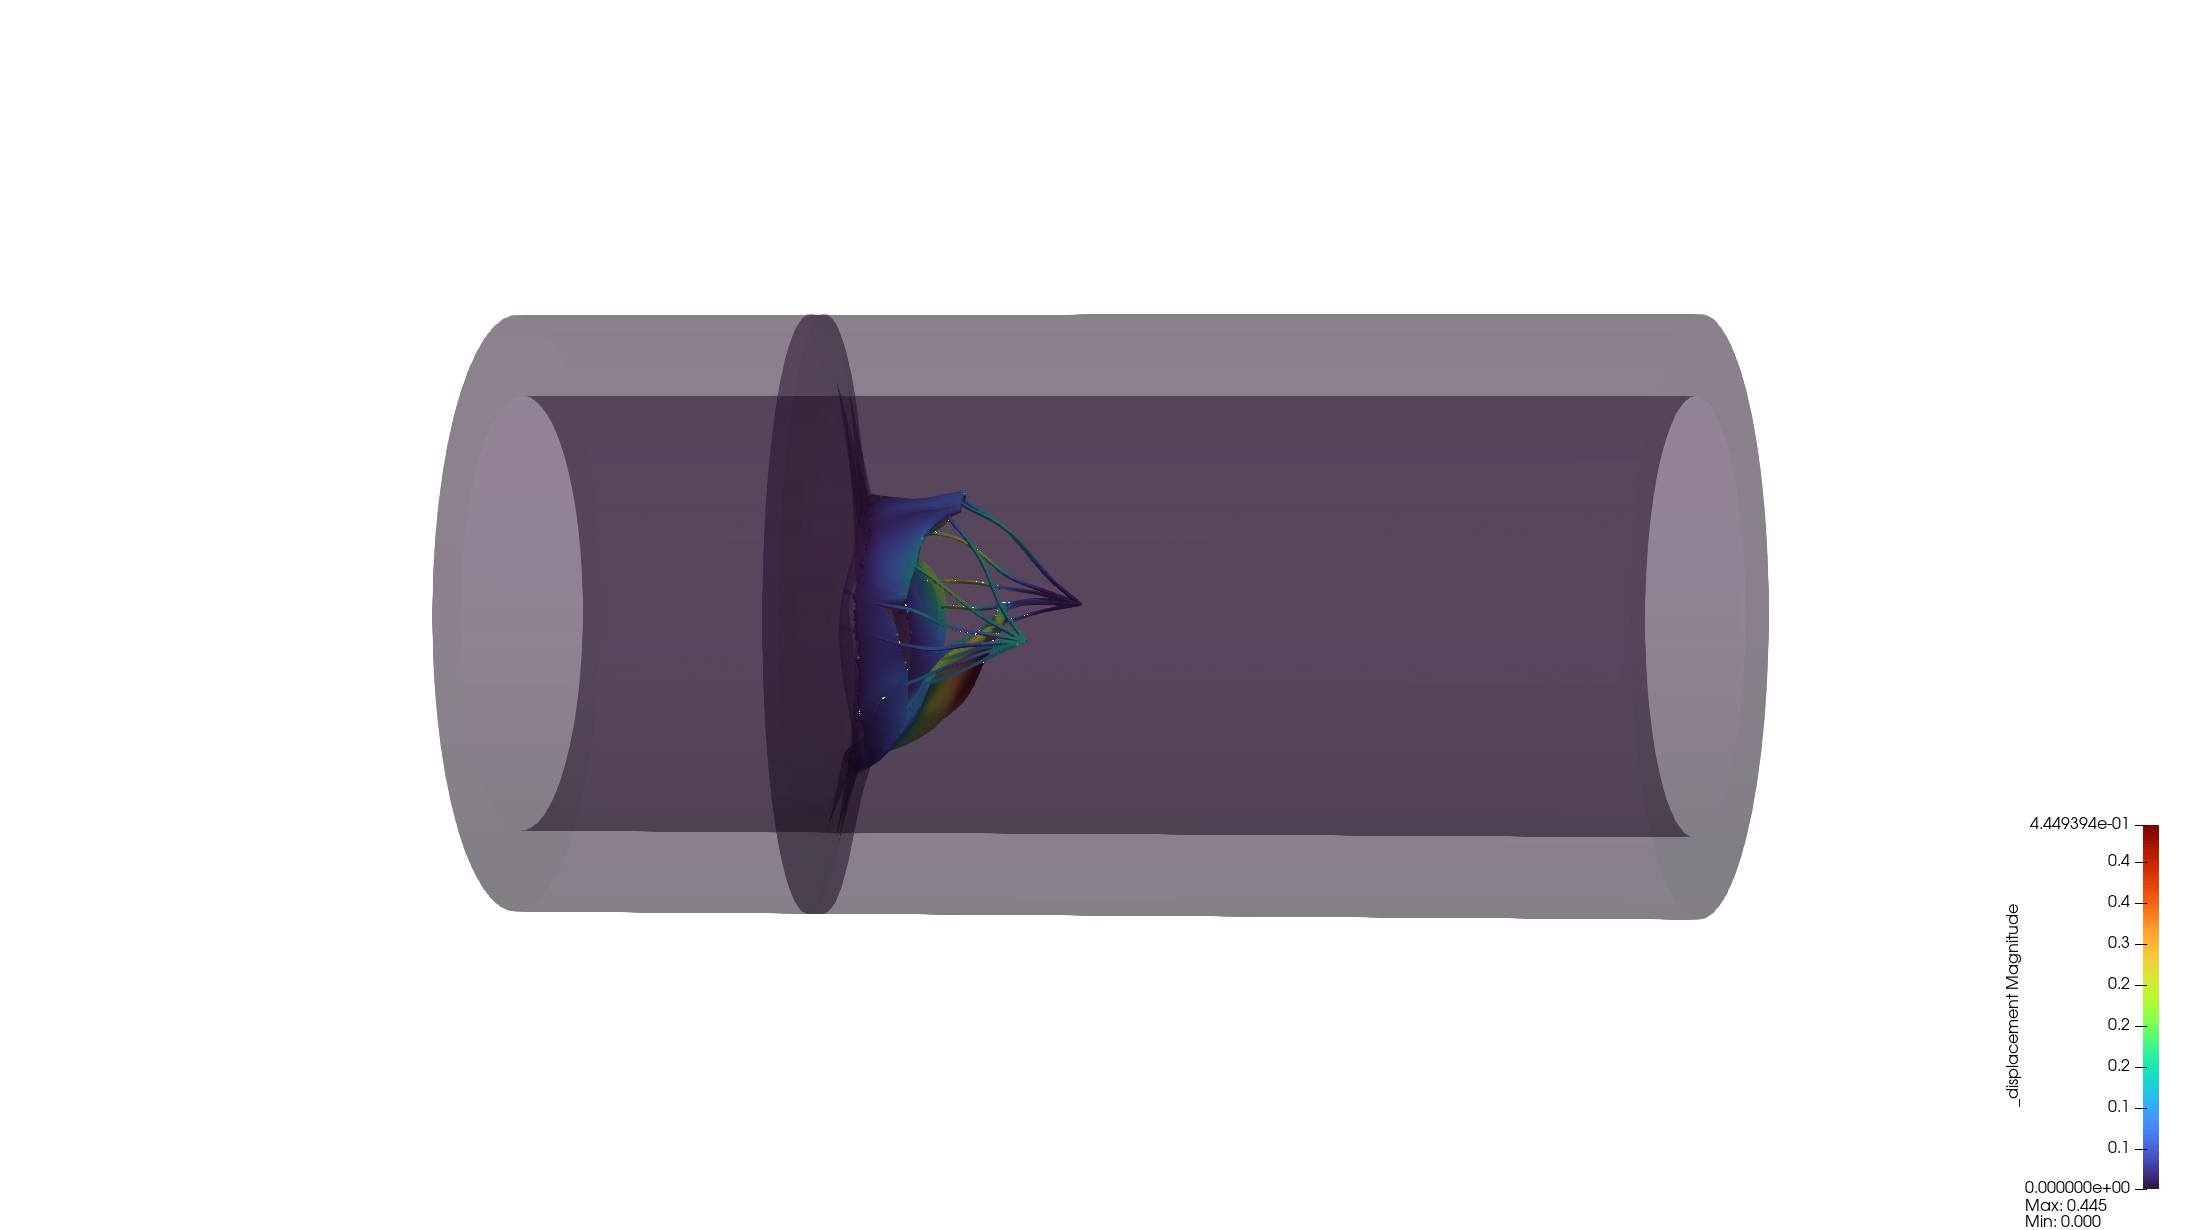
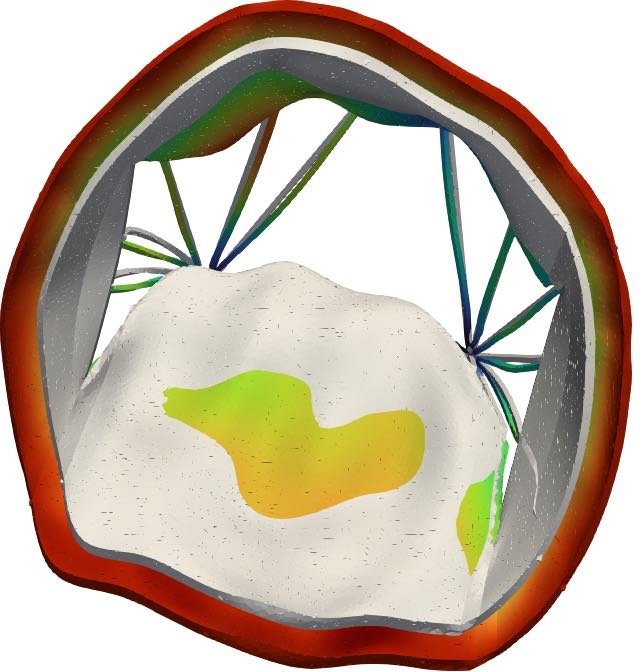
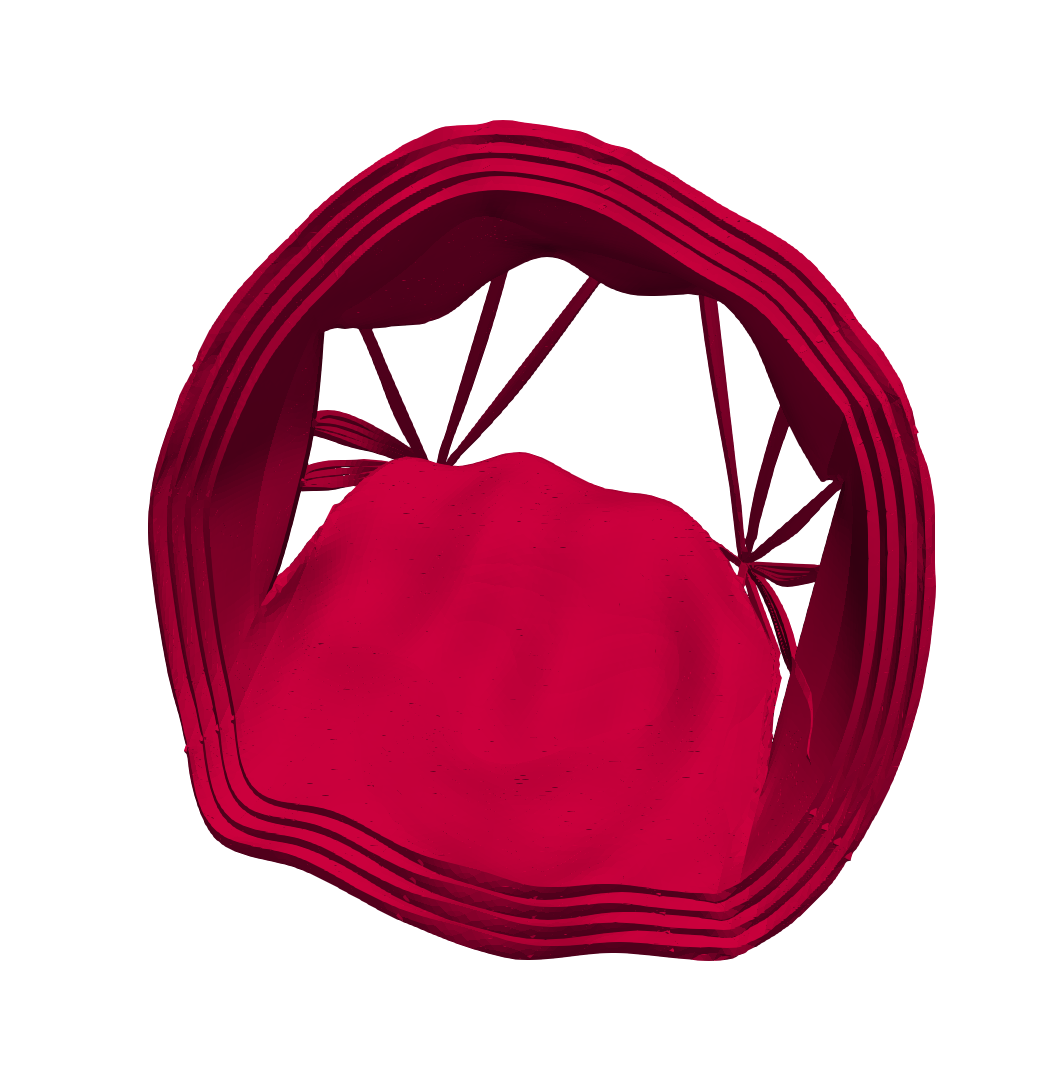
瓣膜打开状态可以正确模拟。
![0.0601s]()
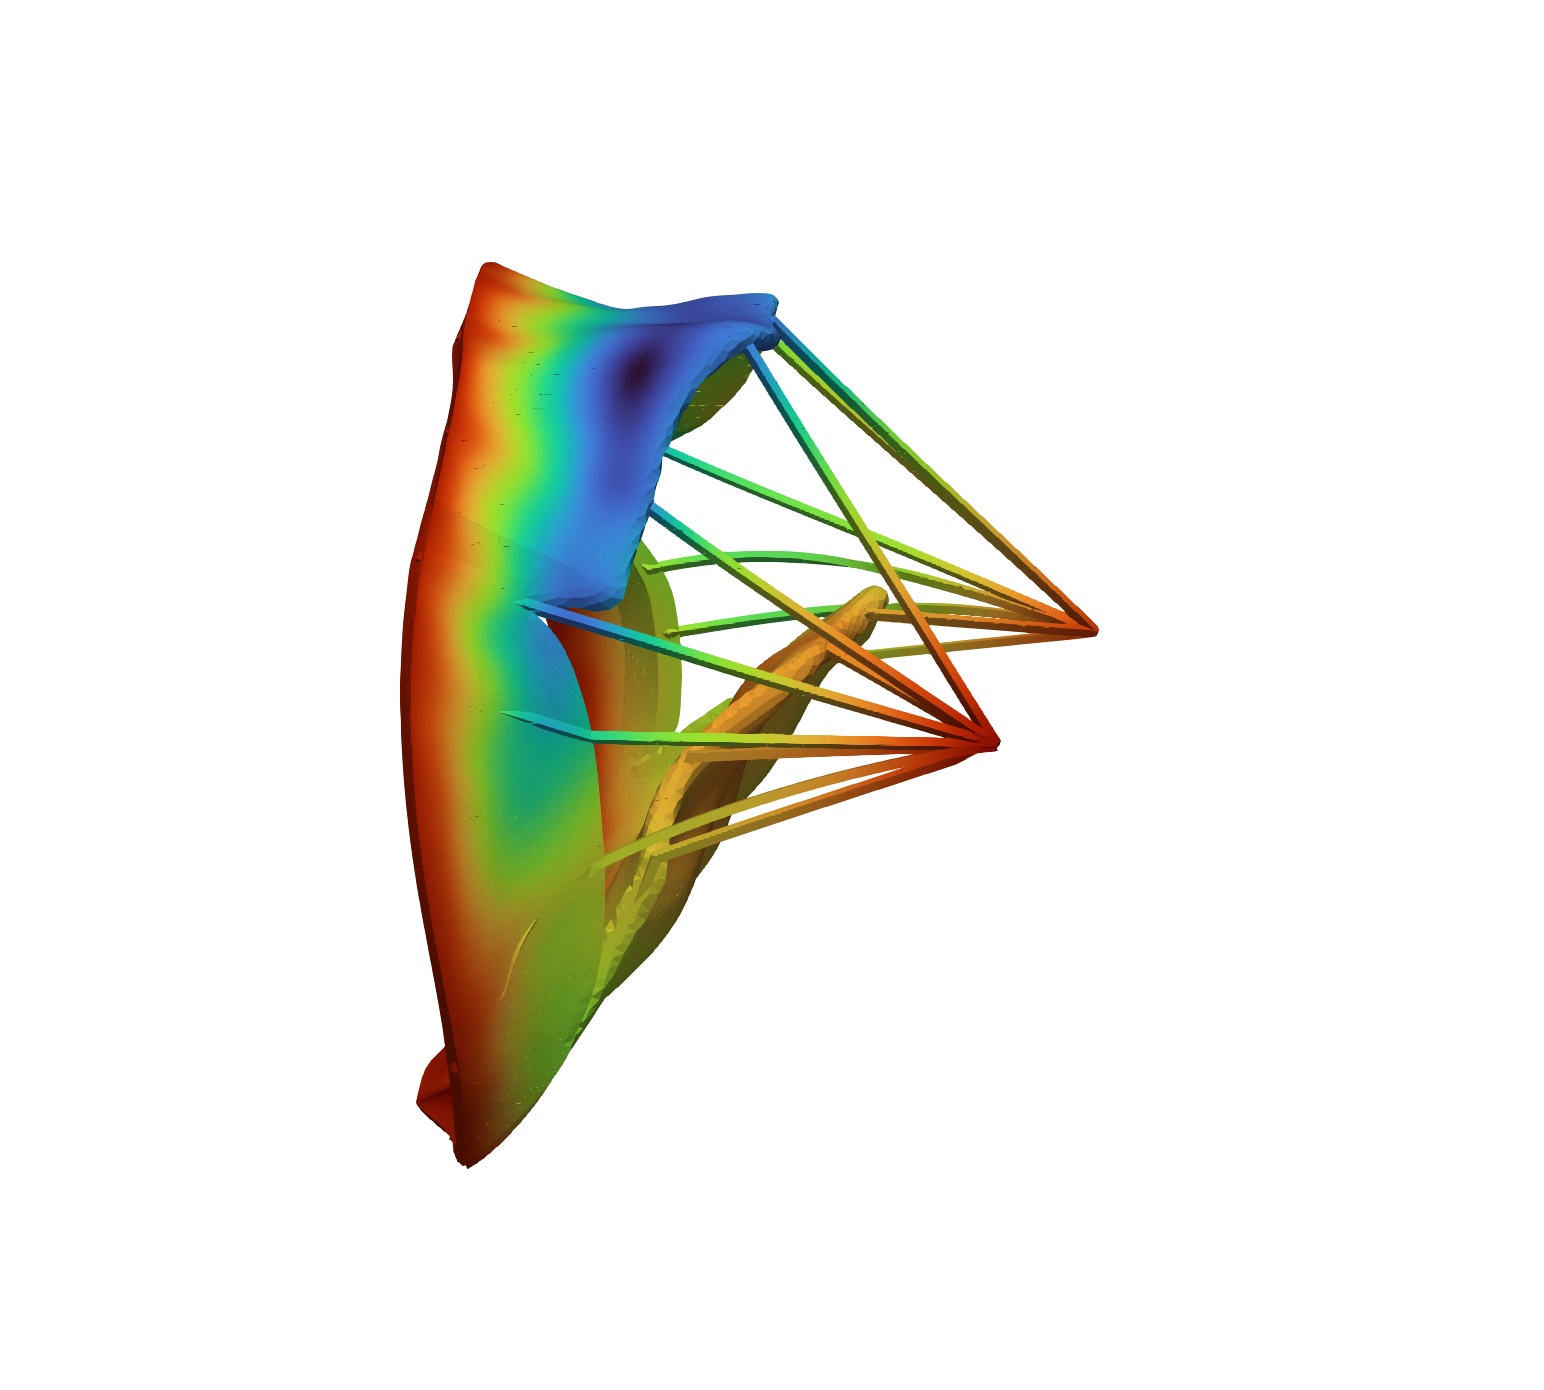
![0.1001s]()
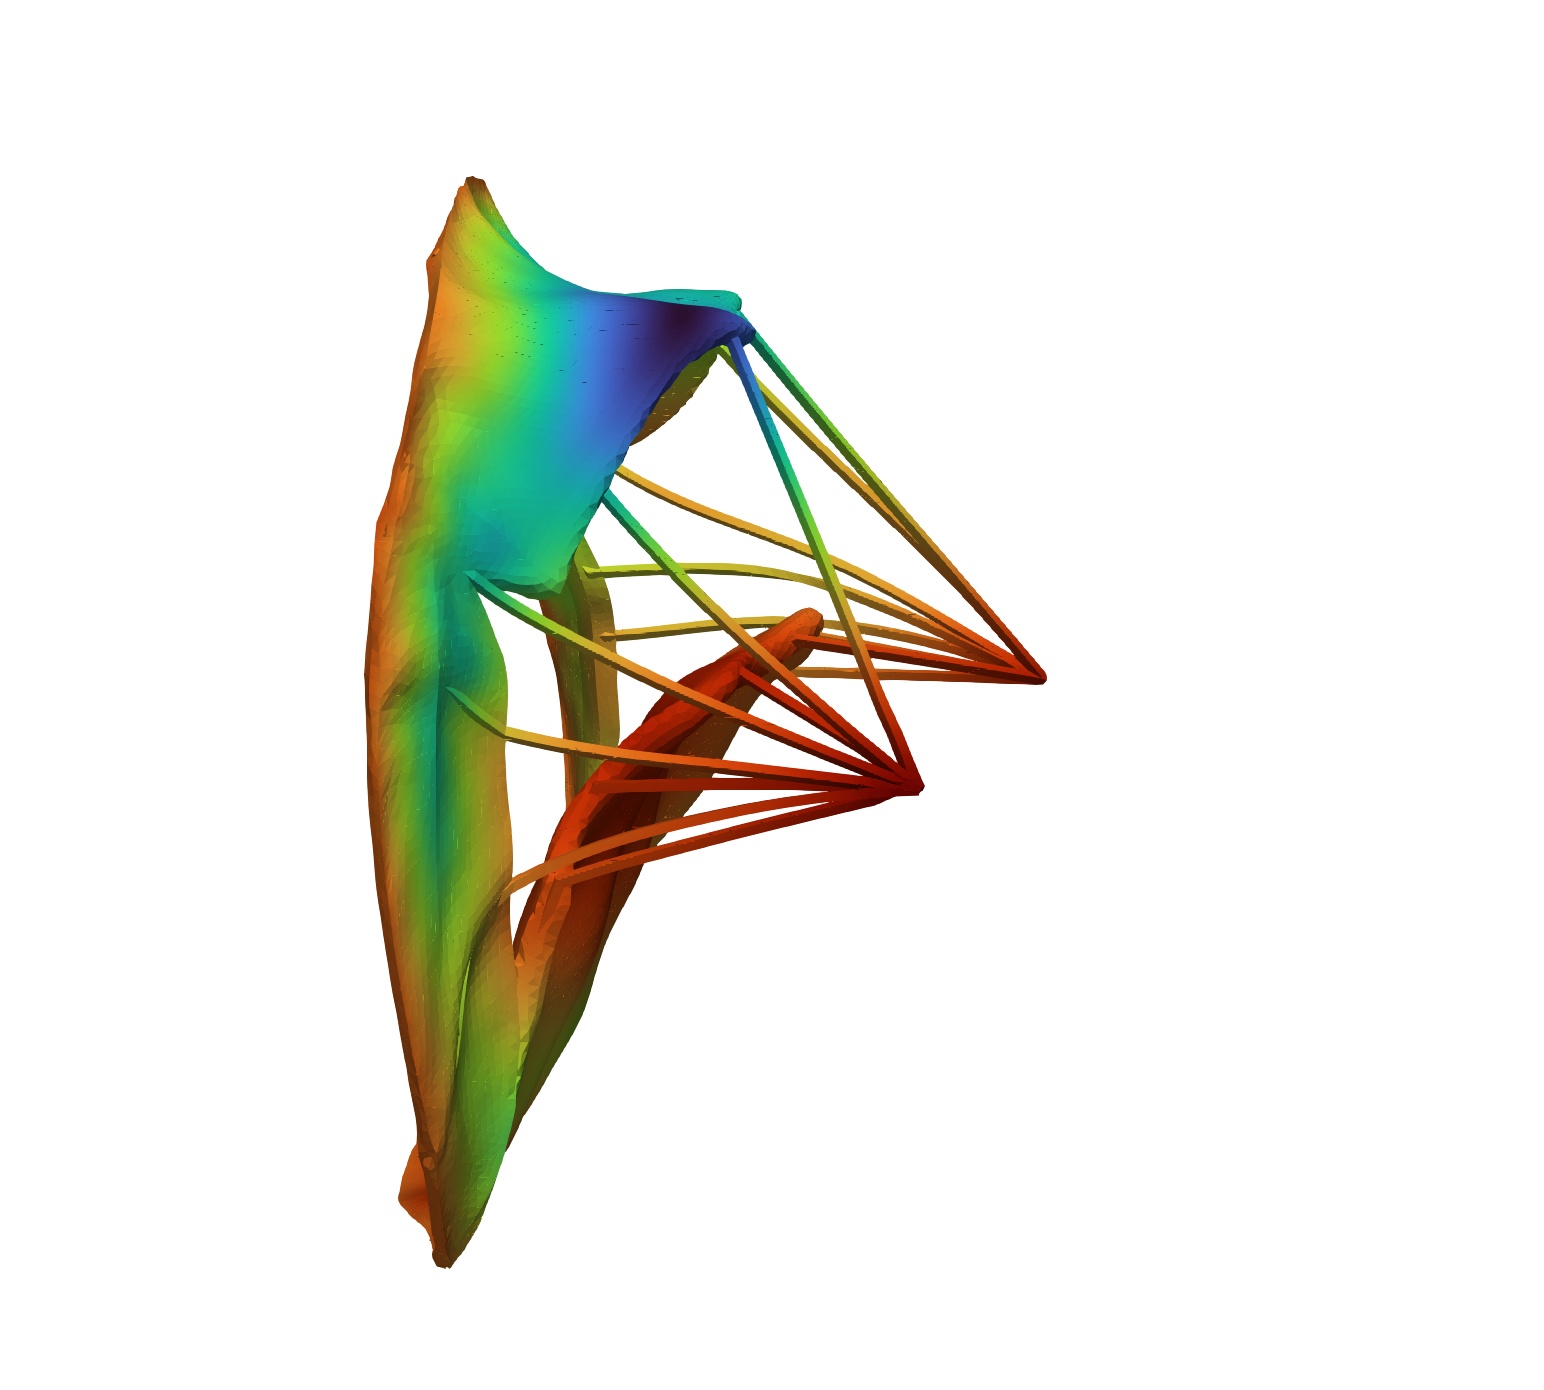
![0.1401s]()
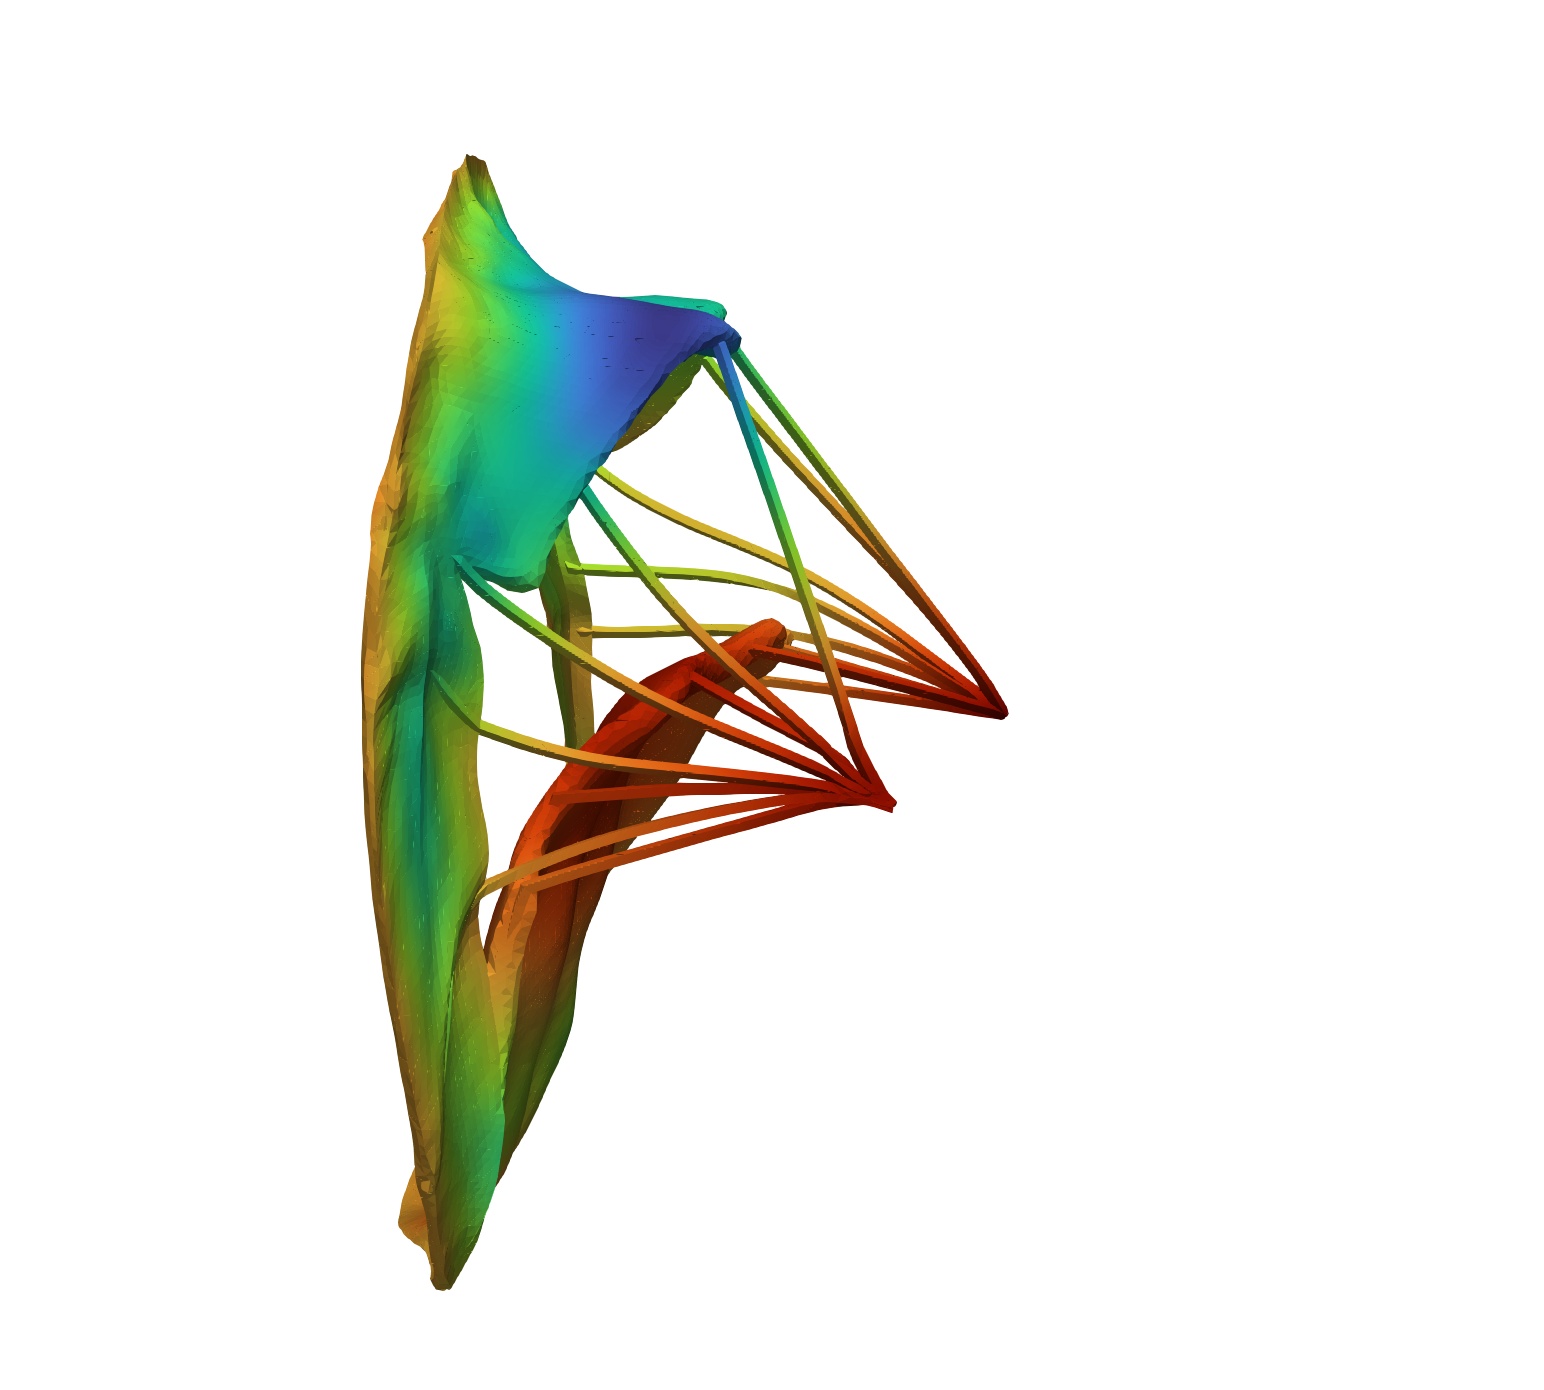
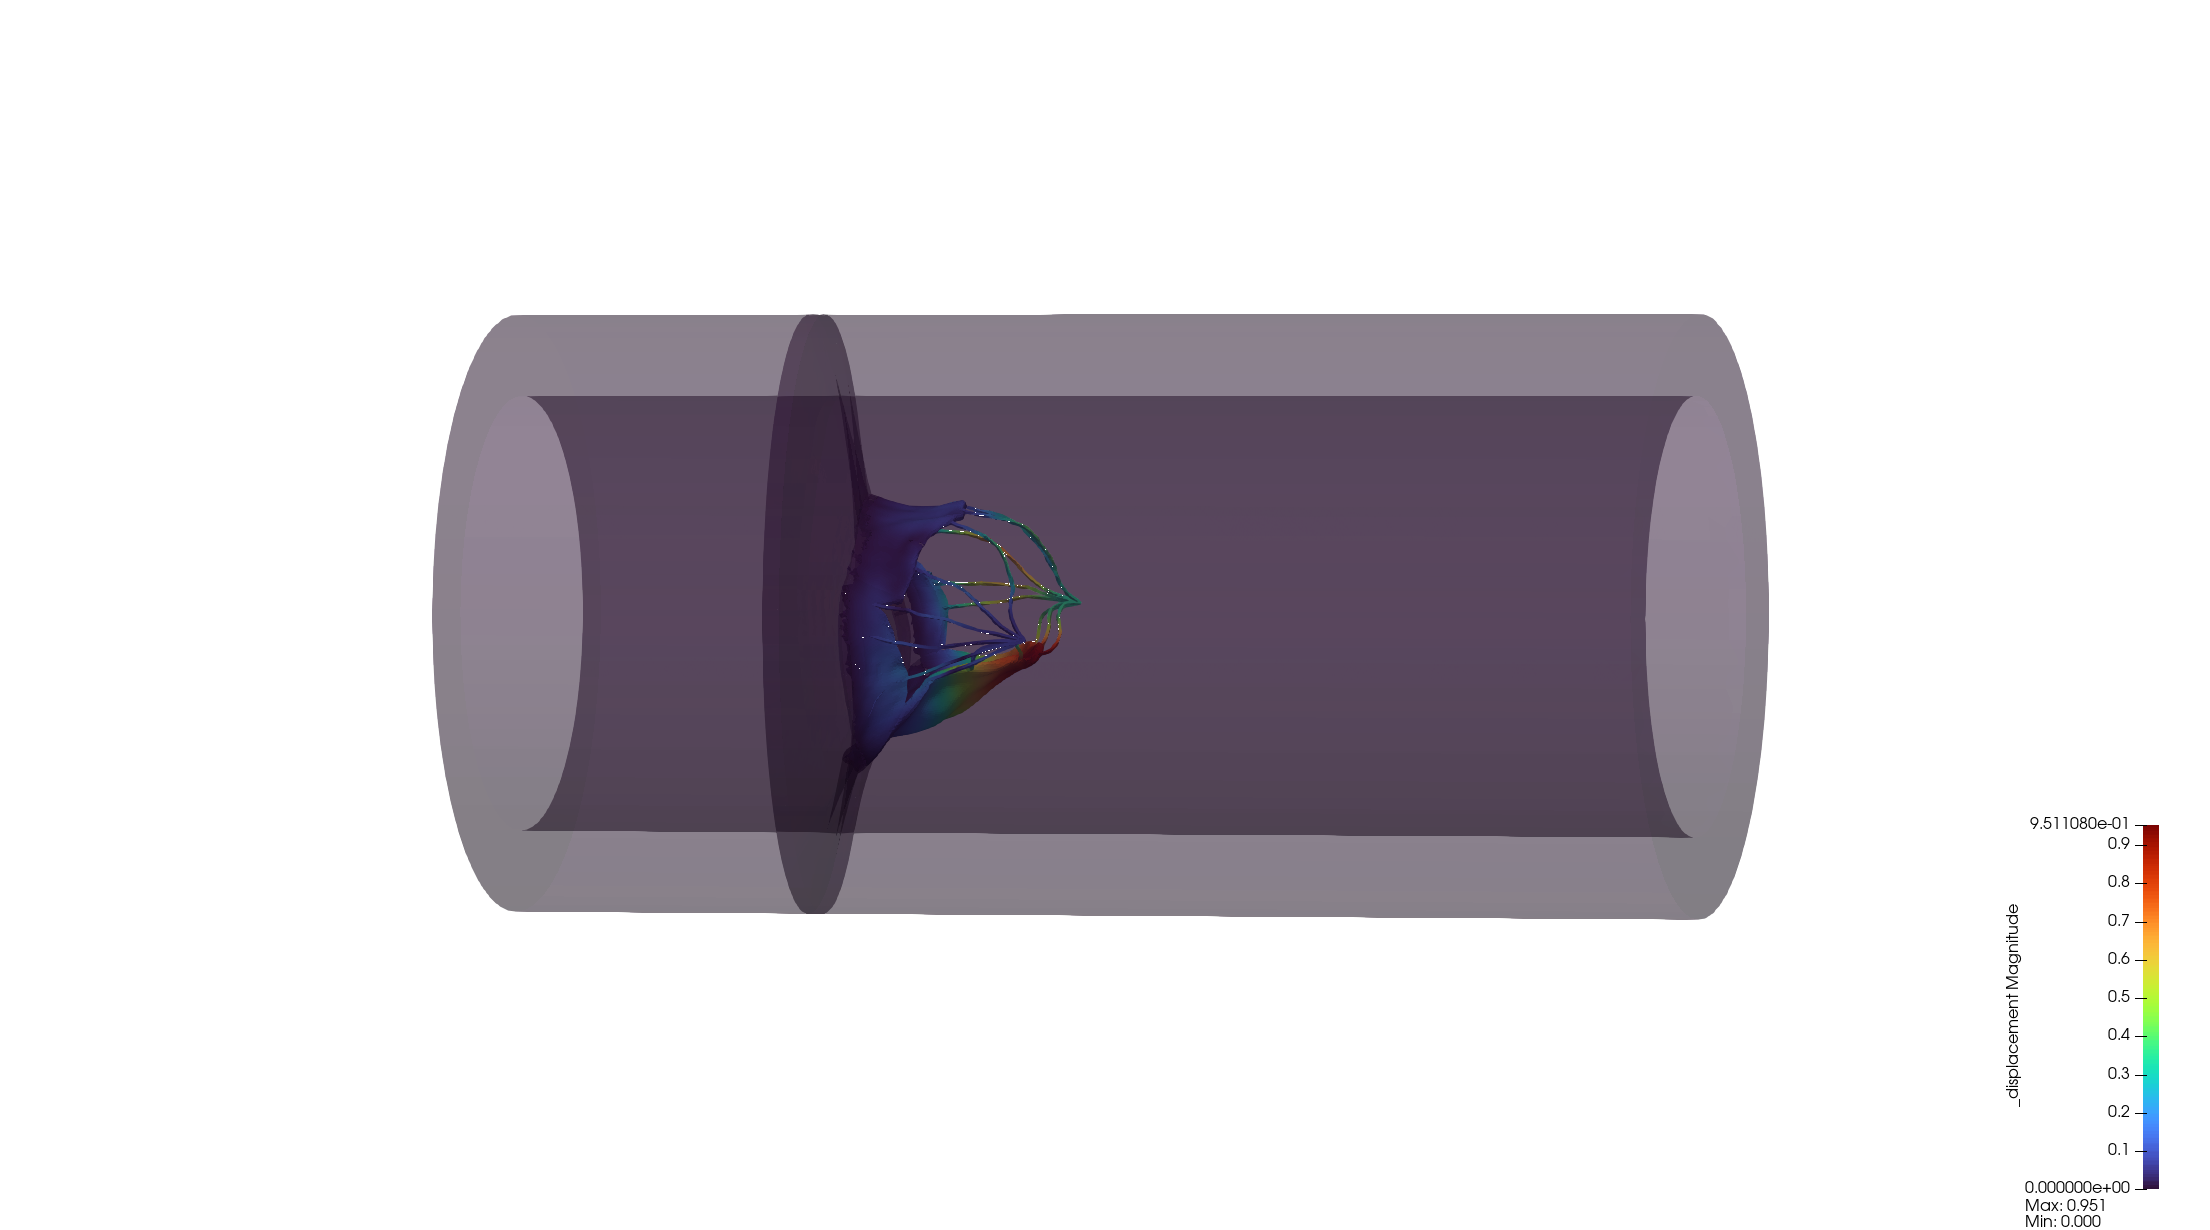
![0.1851s]()
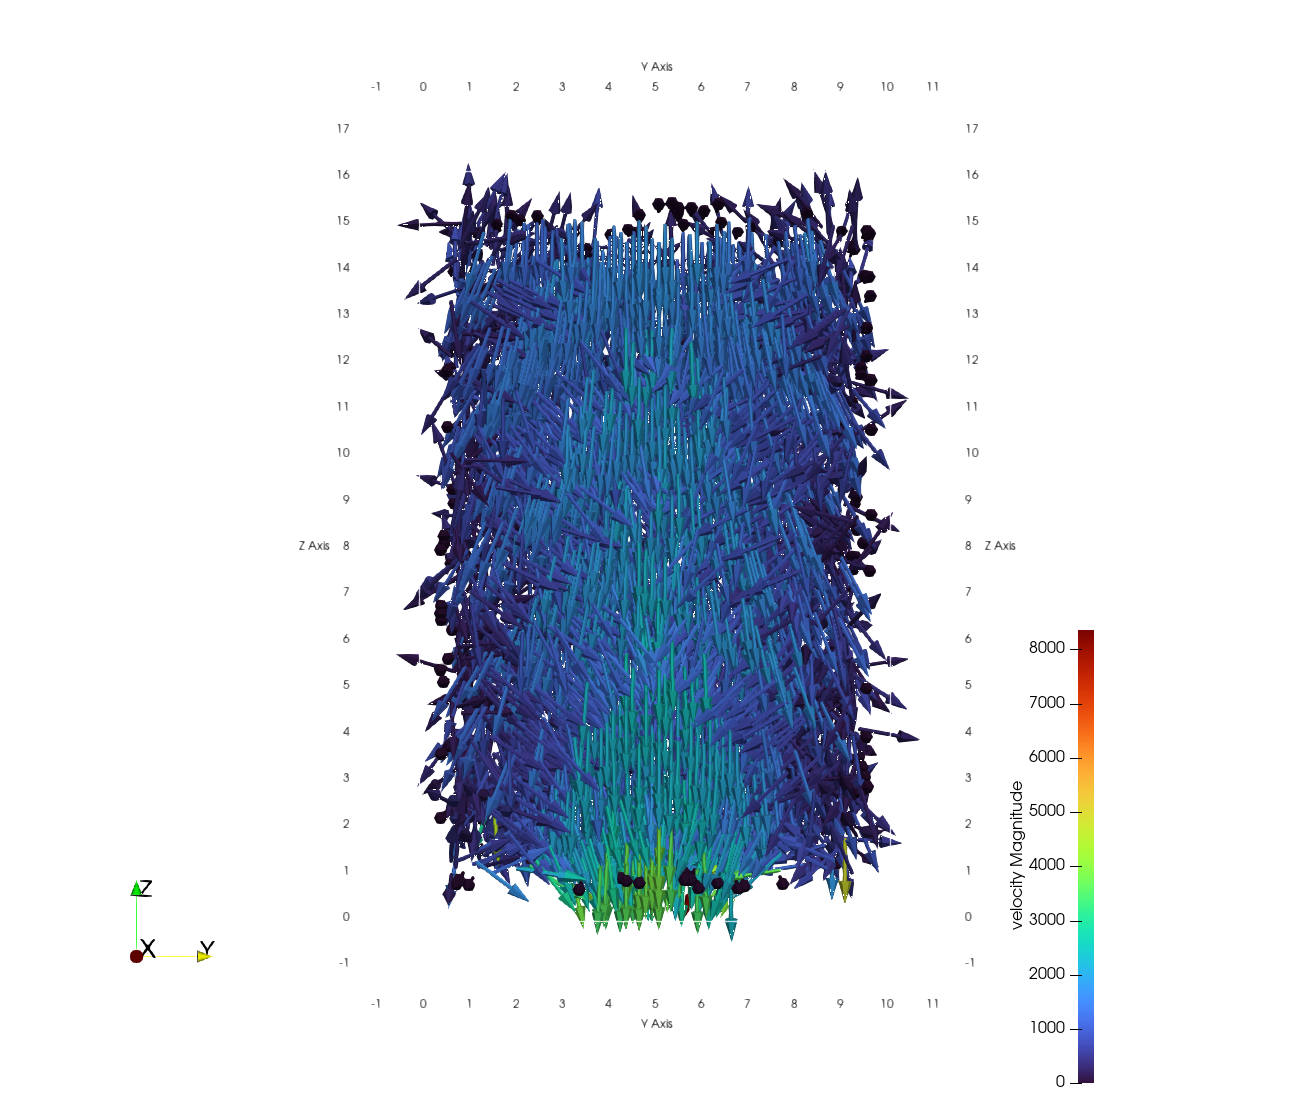
0.185秒,瓣膜开始闭合,需在出口处对流体施加反馈力,阻止流体流动。
有如下问题:
- 时间步长缩小为原来的1/10。
- 如果直管外也施加反馈力,那么程序只能运行到0.06s。


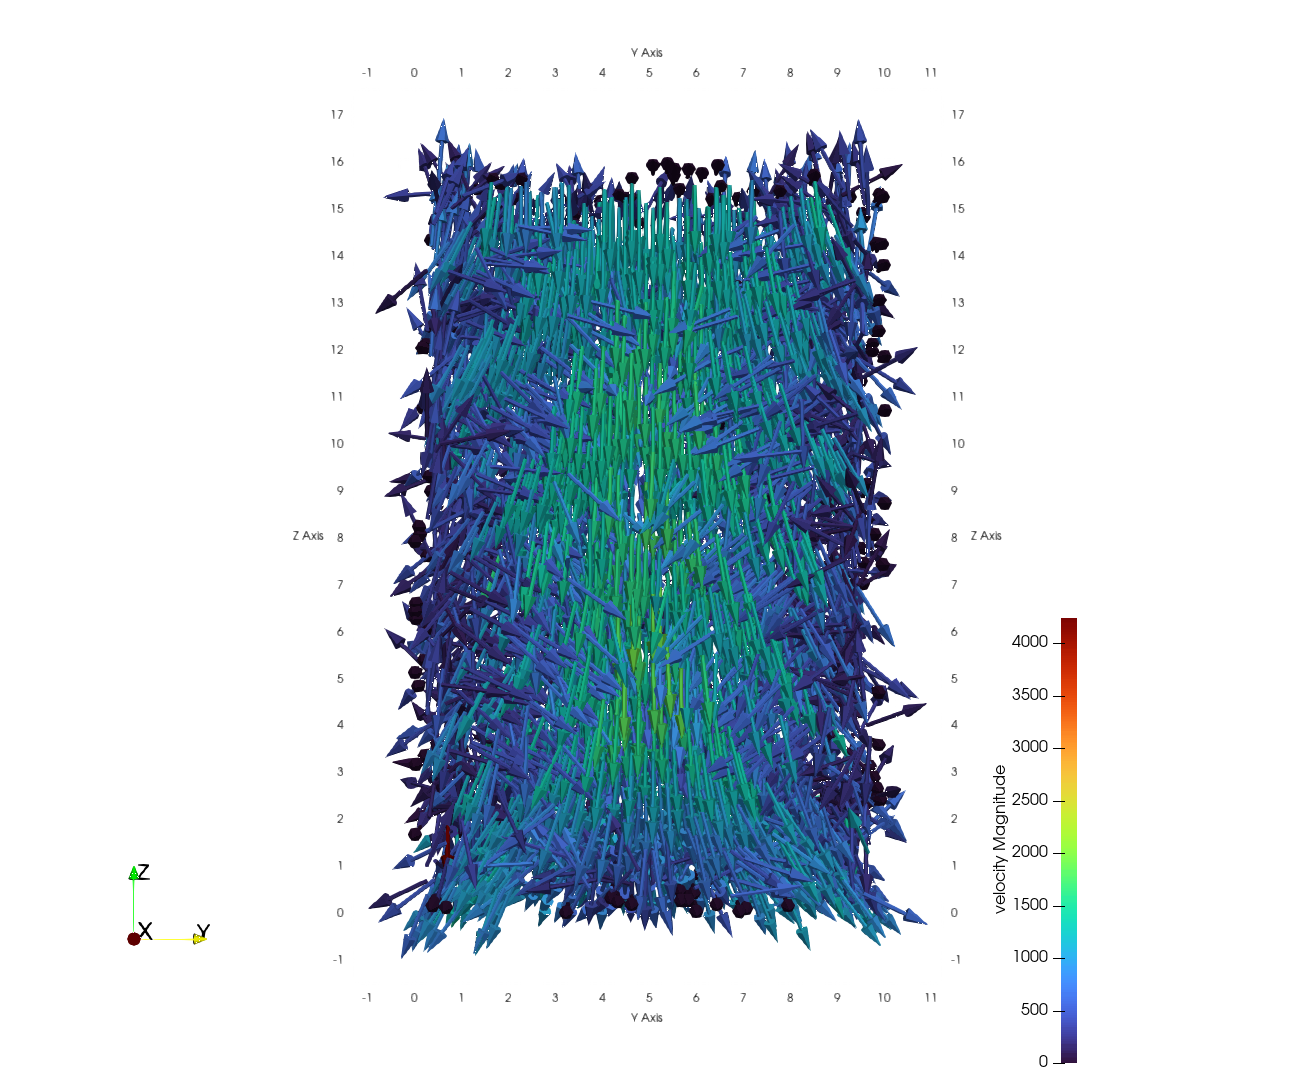
在出口处设置反馈力可以使速度下降。
5月11日-5月15日
程序上没有什么改动。
5月23日 生成二尖瓣环扩张的网格
生成MV网格的过程比较复杂, 分为两轮。
第一轮(程序的前缀为数字)
- 运行
1_read_mesh.py生成boundaries.xmlmaterial.xmlmesh.xdmfmesh.h5文件。 - 运行
2_read_fibers.p生成fiblers_0.xmlfiblers_1.xmlfiblers_2.xml - 运行
3_remark_mesh.py生成materials_remarked.xmlboundaries_remarked.xml, 这一步主要是区分出前后乳头肌。 - 运行
_f_4_scale_mesh.py生成mesh_scale.xdmf和mesh_scale.h5, 这里报错不用管,因为mesh_connected.xdmf不存在。 - 运行
fsi_real_MV_dilation模拟二尖瓣环的扩张。
第二轮(程序的前缀为字母)
在运行程序 fsi_real_MV_dilation 后生成了 process.xdmf 文件, 文件中保存着瓣膜的位移信息。 1. 运行 _a_modify_mesh.py , 生成 mesh_dilation.xdmf 文件, 为扩张后的二尖瓣(仅有瓣膜叶和腱索)。 2. 运行 _b_identify_boundary.py, 提取出瓣膜叶边缘的坐标。 3. 运行 c_generate_disk.py, 生成圆盘。 4. 运行 d_generate_tube.py, 生成直管。 5. 运行 e_connect_meshes.py, 连接网格, fibers_0_connected.xml, materials_connected.xml,mesh_connected.xdmf, boundaries_connected.xml 6. 运行 _f_4_scale_mesh.py 生成 mesh_connected_scale.xdmf 和 mesh_connected_scale.h5网格。
5月24日 调慢二尖瓣环扩张的速度
调慢不起作用
5月25日 重新NPUHeart的环境
遇到一个无法解决的错误,可能是mpi的问题,也可能是网格的问题,希望通过重新配置环境,排除运行环境的问题,此版本移除了openmp的依赖,并且不指定固定版本的openmpi。
export https_proxy=http://127.0.0.1:7890 http_proxy=http://127.0.0.1:7890 all_proxy=socks5://127.0.0.1:7890
git clone -c feature.manyFiles=true https://github.com/spack/spack.git
git clone [email protected]:npuheart/npuheart.git
scp -r [email protected]:~/spack/var/spack/cache ~/spack/var/spack/
. ~/spack/share/spack/setup-env.sh
spack compiler find
spack install [email protected]
spack load gcc
spack compiler find
spack env create fenics_kokkos
spack env activate fenics_kokkos -p
code ~/spack/var/spack/environments/fenics_kokkos/spack.yaml # 复制下面内容
spack concretize -f
spack install
# NOTE: 此版本移除了openmp的依赖,并且不指定固定版本的openmpi
# 通过 [email protected] 能够编译成功
spack:
specs:
# - [email protected] +allow-unsupported-compilers # V12.3.52
- kokkos-kernels@master +cuda cuda_arch=89 %[email protected]
- kokkos@master +cuda +cuda_lambda +cuda_constexpr +wrapper cuda_arch=89 cxxstd=20
# FEniCS
- [email protected] +zlib build_type=Release cflags="-O3"
- [email protected] +mumps +hdf5
- [email protected]
- [email protected] +optimizations
- py-matplotlib
# NPUHeart
- muparser # 2.3.4
- [email protected]
- nlohmann-[email protected]
view: true
concretizer:
unify: true
packages:
all:
compiler: [[email protected]]注意:FEniCS 依赖 [email protected] ,spack安装默认版本 [email protected] 时出错。
5月28日
重新计算二尖瓣环扩张后的网格
- 当时间步为20000的时候,t=0.045时程序中断,半径大约扩大了0.24cm,程序终中断了。
二尖瓣的程序需要进行如下微调
二尖瓣环扩张的运行结果
t_start_closing=0.185 好像可以算扩张半径0.1和0.2的问题。
t_start_closing=0.3 时,可以扩张到 0.24504999999998117
t_start_closing=0.6 时,可以扩张到 0.2437749999999772
所以,要让扩张半径为 0.3 ,最重要的参数应该是时间步长。
5月29日
cd /home/kokkos/ssh/npuheart/build_mv
python3 batch_running.py
export CUDA_VISIBLE_DEVICES=0
mkdir log
mkdir config
taskset -c 70 nohup ./test/fsi_real_MV_tube config/test70.json > log/MV70.out &
taskset -c 71 nohup ./test/fsi_real_MV_tube config/test71.json > log/MV71.out &
taskset -c 72 nohup ./test/fsi_real_MV_tube config/test72.json > log/MV72.out &
taskset -c 73 nohup ./test/fsi_real_MV_tube config/test73.json > log/MV73.out &
taskset -c 74 nohup ./test/fsi_real_MV_tube config/test74.json > log/MV74.out &
taskset -c 75 nohup ./test/fsi_real_MV_tube config/test75.json > log/MV75.out &
6月27日
准备好了五组网格数据
数据下载:https://pan.quark.cn/s/6d98de8b7740